Chevy Corvair Restoration · Body Work · Chrome and Trim Replacement ·
Chrome and Trim Replacement for Chevy Corvair Restoration
Learn how to replace chrome and trim on a Chevy Corvair restoration project, including tips and tricks for the best results.
 By Pearl Reid9 min read
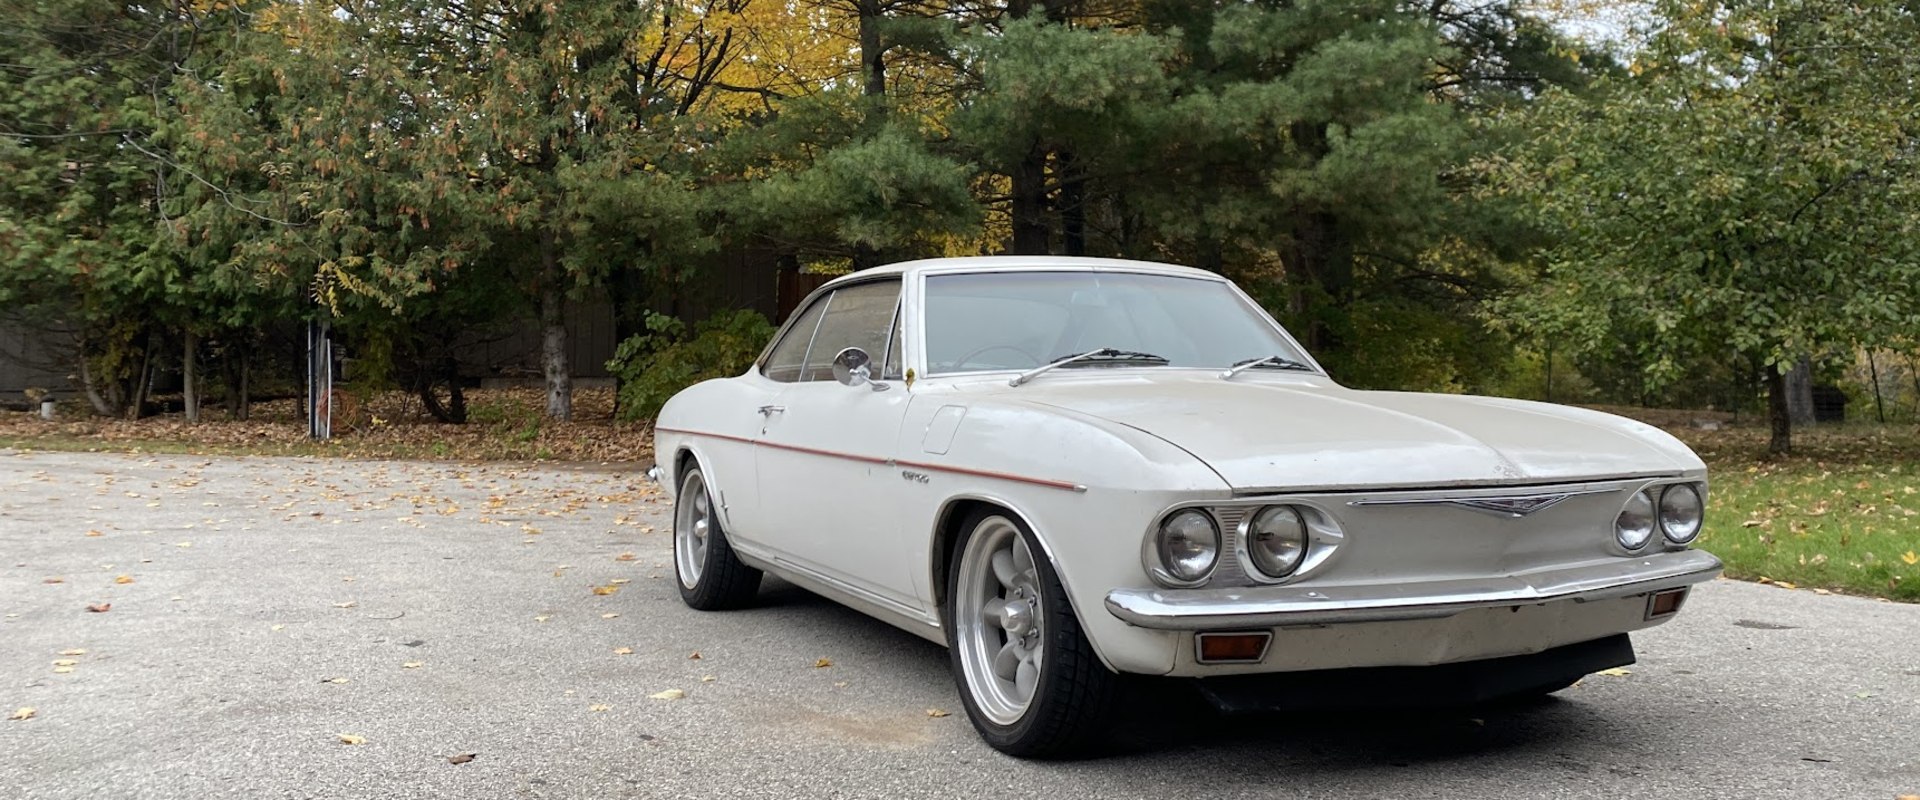
Are you looking to restore your classic Chevy Corvair? A crucial part of any restoration job is replacing the chrome and trim pieces that may have been worn or damaged over time. It can be a daunting task to find the right parts for your car, but it doesn't have to be! This article provides an in-depth look at Chrome and Trim Replacement for Chevy Corvair Restoration, so you can get your car back to its original condition with ease.
Overview of Chrome and Trim Replacement for Chevy Corvair Restoration
Chrome and trim replacement are essential steps for restoring a classic Chevy Corvair. Replacing damaged or worn parts can help bring the car back to its original beauty. To make sure the job is done correctly, it's important to understand the basics of chrome and trim replacement. This includes knowing what tools and supplies you'll need, prepping the area for installation, installing new chrome and trim, troubleshooting common issues, and tips for maintaining the new chrome and trim.Necessary Tools and Supplies for Chrome and Trim Replacement for Chevy Corvair Restoration
Before starting the chrome and trim replacement process, you'll need to gather the necessary tools and supplies. This includes items such as a screwdriver, pliers, wire cutters, and a variety of adhesives. You'll also need to get replacement chrome and trim pieces specifically designed for the Chevy Corvair. Make sure you get the correct size and type of parts for your Chevy Corvair in order to successfully complete the restoration process. If you're unsure, consult with a restoration expert.Prepping the Area for Chrome and Trim Replacement for Chevy Corvair Restoration
Once you have the necessary tools and supplies gathered, it's time to prep the area for chrome and trim replacement for your Chevy Corvair.Start by removing any old or damaged parts that need replacing. Use a screwdriver to unscrew any bolts or screws that are holding the old parts in place. If you come across any rust, use a wire brush or sandpaper to remove it.Once all of the old parts are removed, clean the area with a damp cloth and allow it to dry completely before proceeding.
Installing New Chrome and Trim
Once the area is prepped, you can begin installing new chrome and trim. Start by lining up the new pieces with the existing ones. Use a measuring tape or level to make sure they're even. Apply adhesive to the back of each piece before pressing it firmly into place.Allow the adhesive to set for at least 24 hours before moving on to the next step.
Troubleshooting Common Issues with Chrome and Trim Installation
Despite your best efforts, there may be times when your chrome and trim installation doesn't go as planned. Here are some common issues you might encounter:- The pieces don't fit properly.
- The adhesive doesn't hold.
- The pieces are crooked or uneven.
Tips for Maintaining the New Chrome and Trim
Once your chrome and trim installation is complete, there are some steps you can take to ensure it stays in good condition for years to come.Start by using a gentle cleaner specifically designed for chrome and trim pieces. Avoid harsh chemicals, as they can damage the finish. Additionally, waxing your car regularly will help protect against corrosion. Finally, make sure to inspect your chrome and trim pieces periodically for signs of wear or damage so you can address any issues before they become serious.
Overview of Chrome and Trim Replacement
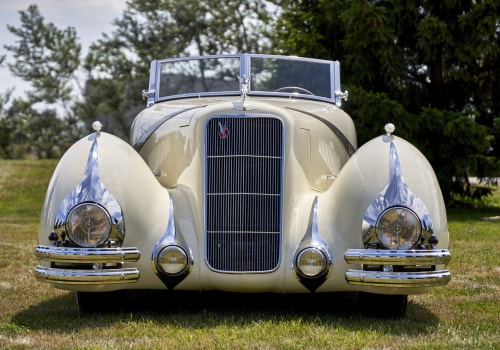
Chrome and trim are important components of a classic Chevy Corvair's exterior.Chrome is made up of chromium plating, which is applied to metal to give it a shiny, reflective finish. Trim is the decorative strips and panels that go around the car's windows, doors, and headlights. Chrome and trim help protect the car from the elements, while also adding a touch of style. Replacing chrome and trim on a classic Chevy Corvair is a necessary step in restoring the vehicle. Over time, chrome and trim can become corroded, scratched, and damaged due to exposure to the elements.
Replacing them with new, high-quality parts will ensure that your car looks great and is protected from further damage. Chrome and trim replacement can be a difficult task. It requires patience, precision, and the right tools. However, with the right tips and techniques you can get a beautiful result.
Tips for Maintaining the New Chrome and Trim
Maintaining the new chrome and trim pieces of your Chevy Corvair restoration is key to preserving their beauty and ensuring that they last. Here are a few tips to help you keep them looking their best.Cleaning:
It is important to use the right cleaning method and products on chrome and trim pieces.Never use abrasive cleaners or brushes as these can scratch the surface. Instead, use a soft cloth and mild soap and water to clean the surface. Use a microfiber cloth to buff the surface after cleaning for a streak-free shine.
Protection:
Once the chrome and trim have been cleaned, it is important to apply a coat of wax or sealant to protect them from the elements. This will help to prevent rusting and fading, as well as preserving the shine of the chrome and trim.Storage:
When not in use, store your chrome and trim pieces in a cool, dry place.Do not store them in direct sunlight or near heat sources as this can cause fading or discoloration.
Repairs:
If any of your chrome or trim pieces become damaged, it is important to repair them as soon as possible. This will prevent further damage to the piece and help to keep your restoration looking its best.Necessary Tools and Supplies
Replacing chrome and trim on a classic Chevy Corvair requires a specific set of tools and supplies. These include a few basic items like screwdrivers, pliers, and a socket set. You'll also need some specialty items such as chrome polish, chrome adhesive, and a metal file.Screwdrivers: You'll need a variety of flathead and Phillips screwdrivers to remove any existing chrome and trim.
Pliers
: Pliers are essential for removing stubborn bolts or clamps.Socket Set
: A socket set with metric sockets will be necessary for any bolts that need to be removed from the car's body.Chrome Polish
: Chrome polish is used to clean and shine up existing chrome parts.Chrome Adhesive: When installing new chrome and trim, it's important to use a strong adhesive to keep it securely in place.
Metal File
: A metal file will be necessary for filing down any rough edges or imperfections in the chrome trim.Troubleshooting Common Issues with Chrome and Trim Installation
Bubbling and Peeling:Bubbling and peeling are common issues when installing chrome and trim, especially if the surface has been exposed to extreme weather conditions. To prevent bubbling and peeling, it's important to use a high-quality primer and sealant before applying the chrome and trim. Additionally, make sure that any areas that have been exposed to rust are sanded down and treated with a rust inhibitor prior to installation.Improper Adhesion:
If the adhesive used for the chrome and trim is not applied correctly, the trim may not stay in place.To ensure proper adhesion, use an appropriate adhesive and apply it evenly over the surface. Additionally, make sure that the surface is clean and free of dirt, dust, or any other debris that could prevent the adhesive from sticking properly.
Wrinkling:
If the chrome and trim is not applied correctly, it can wrinkle or become misshapen. To prevent this, make sure that the chrome and trim is cut to the correct size and shape prior to installation. Additionally, use a heat gun or blow dryer to warm up the chrome and trim before applying it to ensure a smooth installation.Installing New Chrome and Trim
Installing new chrome and trim pieces on a Chevy Corvair can be a challenge, but with the right techniques and tools, you can get a perfect fit.Before beginning, it is important to ensure that the surfaces of the car are clean and free of dirt and debris. This will help ensure that the chrome and trim pieces will adhere properly. The first step in installing the new chrome and trim is to measure the pieces and make sure they fit correctly. If necessary, use a file or sandpaper to modify the pieces to get a snug fit.
Use a masking tape to mark the locations of each piece, and then use a drill to install the fasteners. Once the pieces are in place, use a sealant to ensure that they are securely attached. When installing new chrome and trim pieces, it is important to use the correct tools. A power drill is often necessary for drilling holes for fasteners. A file or sandpaper may be needed to make adjustments to the pieces for a perfect fit.
A sealant should be applied after all the pieces are in place. The last step is to inspect the pieces and make sure they are securely attached. If there are any gaps or loose pieces, use a sealant to fill them in. Once everything is in place, your Chevy Corvair will look like new!
Prepping the Area for Chrome and Trim Replacement
Before beginning any chrome and trim replacement for a Chevy Corvair restoration, it is important to properly prepare the area. This will ensure a successful outcome and a beautiful finished product.The steps involved in prepping the area for chrome and trim replacement include cleaning, sanding, priming, and masking.
Cleaning
- The first step in prepping the area for chrome and trim replacement is to thoroughly clean it. Any dirt, dust, grease, rust, or other debris should be removed with a damp cloth or brush. This will ensure that the surface is free of contaminants that could affect the quality of the chrome and trim after installation.Sanding
- After cleaning, it is necessary to sand the area in order to create a smooth surface. This will allow for better adhesion of the chrome and trim to the surface.Use a fine-grit sandpaper to achieve the desired level of smoothness.
Priming
- Priming is an important step in prepping the area for chrome and trim replacement. A good-quality primer should be used to seal any imperfections in the surface and create a strong bond between the surface and the chrome and trim. Allow the primer to dry completely before proceeding with installation.Masking
- Masking is important when prepping an area for chrome and trim replacement. It is important to protect any areas that may be affected by the installation process.Use painter's tape and drop cloths to cover any areas that should not be affected. In conclusion, replacing chrome and trim on a classic Chevy Corvair restoration project can be challenging but rewarding. With the right tools and supplies, preparation of the area, and following the steps outlined in this article, you can successfully complete your chrome and trim replacement task with beautiful results. Additionally, proper maintenance of the chrome and trim will ensure a long-lasting, pristine finish.